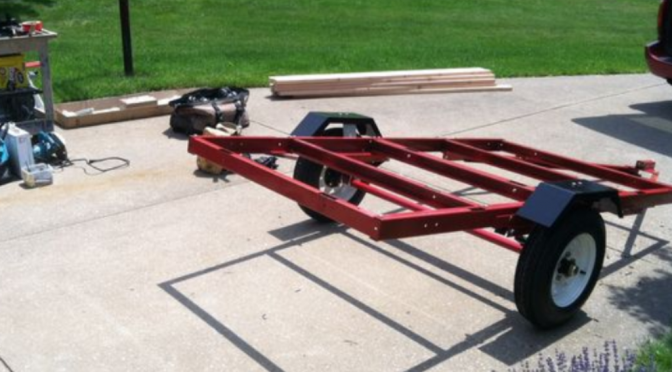
Once I came home with our utility trailer in a box from Harbor Freight, it was time to get serious! While my husband was at work, I started to build the little trailer in the driveway.
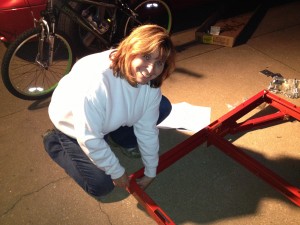
For the most part, it wasn’t hard. I actually read the directions first, which probably helped the process. But then, I got nervous. After all, this was the base of our camper that we would be speeding down the road with. It would take us on adventures into the mountains and through the deserts. We would sleep in it, cook in it, live in it, play with it. Um, way too much responsibility. So I took it apart and waited, not very patiently, for my personal builder to come home!
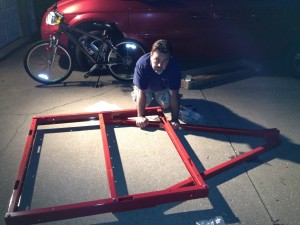
When my husband came home, he ignored the directions, “You read them, right? So I don’t need to,” and went to work. Then he inspected, tweaked, and tightened all the bolts. When we stepped back and looked at it, we started laughing. It was really small. Granted, it was larger than our backpacking tent, but boy was it small.
The part of the design we had struggled the most with was where to put the extra bed. A normal teardrop trailer has a bed on the floor. The head tends to be on the car end of the trailer, and the feet point toward the galley and the back end. This is a perfect set up for a 4’ X 8’ utility trailer. Well, the twelve-year-old had to go somewhere, and he wasn’t sleeping between mommy and daddy!
We sketched out a lot of ideas on graph paper. We looked on the internet at camper floor plans and boat cabins. We seriously considered a berth/hammock situation like many sail boats use, but we just couldn’t chisel out the space for the other bed, so we decided to make the trailer bigger. We drew up plans to cantilever the floor over the utility trailer base making the trailer measure 6’ X 10’. With this size, we could make a bunk that ran from one side of the trailer to the other. It was going to be very narrow, but our son was used to sleeping in a mummy sleeping bag on a small back pad. He also had spent many nights at Boy Scout camps sleeping on camp cots. The narrow bunk was not going to be a problem. Because it was going to be up on a shelf with cabinets underneath, it also created a headboard of sorts for our bed.
The downside to making the trailer this size was that we had to give up on one of our desires. We wanted to have the wonderful, graceful, vintage fenders that many teardrop have. In our minds, these fenders were a trademark of the teardrop, Sadly, these were going to have to go. I pouted for a good two days.
With the decision made to make the footprint larger, we were on our way! I spent hour upon hour drawing up the trailer on my graph paper pad. I measured and erased and drew again. My husband searched the internet and watched YouTube videos to see how other people built their trailers. Our late evenings were spent in companionable silence in bed. He on his iPad and me sketching diligently on my graph pad. We would stop what we were doing and show each other our progress.
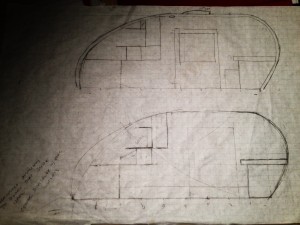
We both thought that the Benroy design would fulfill our needs, so we modeled much of what we did off of that design. One set of plans that helped us immensely was found at http://www.mikenchell.com/images/GenericBenroyPlans.pdf. Here we found ideas and plans that we could actually utilize for free! Also, our friends at Teardrops and Tiny Travel Trailers were always willing to give advice. Finally, my husband announced that he was ready to build the floor.
We took my Grand Caravan to the local Home Depot and loaded the back with sheets of plywood and 2 x 4’s. My poor car was thoroughly abused that summer!
The floor was framed with a grid of 2 X 4’s sandwiched between two sheets of 3/4 inch plywood.
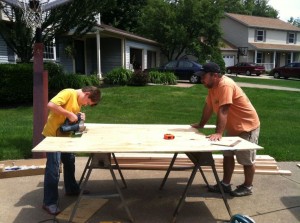
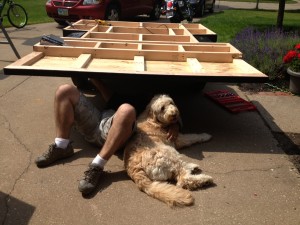
We used a roll-on truck bed liner to waterproof and protect the underside of the floor. We bought the product from our friendly NAPA store.
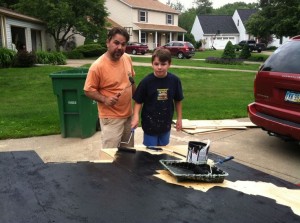
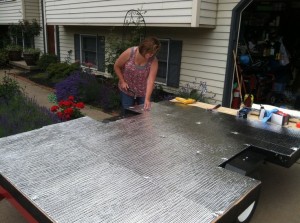
Then, we insulated the floor with with a silver foil bubble wrap insulation.
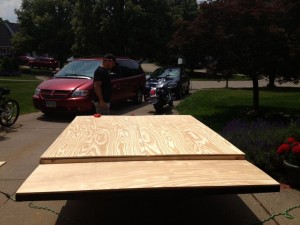
Once we were finished we all crawled on top of the floor and laid down. That was better. It was big enough for the three of us and our Goldendoodle, Maggie. All we had to do now was start building the walls. That was where the problems started and our first big argument of the build happened….

