Once we figured out the size and shape of the walls, we couldn’t wait to get this thing going. We needed it to look like a trailer. This was the beginning of summer, and we knew we had a long haul ahead of us. After talking, dreaming, and arguing we were ready to see what this trailer was eventually going to look like.
The next order of business was finding windows. We searched online and got ideas. Then we headed out to an RV dealer to see if they had any replacement windows hanging around. We were hoping to be able to cut out the window shape in the side walls and we didn’t want to wait for windows to be shipped. We were also in a bit of sticker shock when we saw the prices on the internet. We were aware that a lot of people scrounged used windows when they built their teardrop, but we wanted to go the route of new. When we got to the RV dealer, he told us he couldn’t help us, but he knew a guy who sold trailer parts and refurbished old trailers. It sounded like a marriage made in heaven. The best part was this place was within an hour drive of our home. We headed off to meet our new mentors.

We arrived at Sands RV in Madison, Ohio, and met the folks that owned the place. We knew that we had hit gold. Not only did they have all of the parts we were going to need, they were a wealth of knowledge and they didn’t mind sharing. We explained to them what we were going to do, and they enthusiastically began to help us with our project. Within a few minutes, we found the perfect pair of windows that were extremely affordable. They took us around the store and showed everything they had from aluminum trim, gaskets, electrical supplies, and more. Honestly, without these people, I don’t know what we would have done.
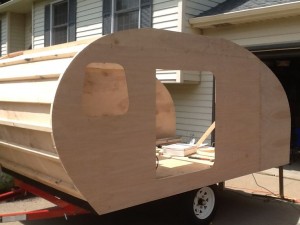
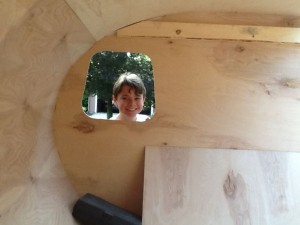
Once we got the windows home, we went to work. The first order of business was to cut the holes and then check to see if we made those holes the right size!
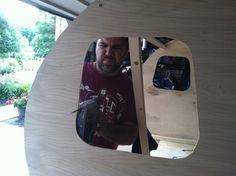
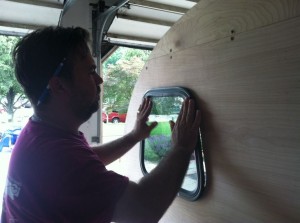
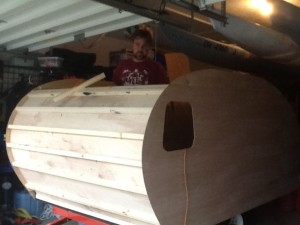
Then we put up both of the exterior skin walls and started putting the horizontal studs between the then. We were concerned with weight, but we also wanted a sturdy trailer. We used pine 2 x 2’s (which is the male equivalent to 1 1/2″ x 1 1/2″) as our studs and spaced them evenly on the front curve of the trailer.
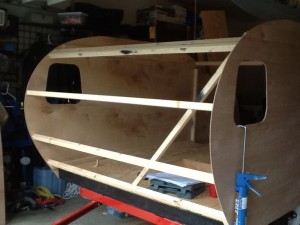
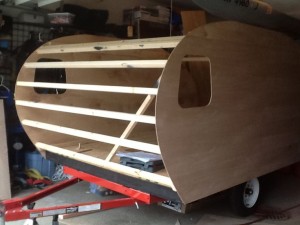
We were getting excited as we saw our pencil sketches turn into the real thing. Wow, it was starting to look like a teardrop trailer!
Because we have to work for a living, weekends were about the only time we had to build, so we tried to get as much done as we could during those days. We would start on Friday night and work like crazy until dark on Sunday. We were so excited about seeing the walls up that we needed to insert the interior front wall. Not only would it give integrity to the walls so they wouldn’t be wobbling sideways, we would be able to find out early if we were going to have any trouble bending the plywood. So on that hot and humid Sunday, we cut and inserted the interior front wall. It was a tight fit. There were words of frustration. We held our breath waiting for the cracking sound. Instead we heard a slapping sound as my husband retrieved his wounded fingers from behind the piece of plywood as it snapped into place.
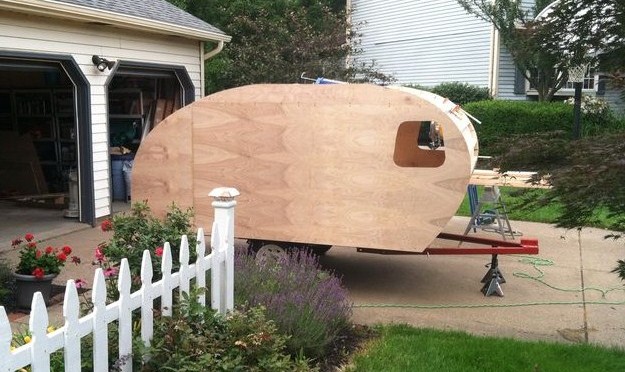
We stood back and sighed in relief. I marveled at the beauty of the bent wood. Up to that point we were considering skinning the outside of the trailer in aluminium. Once we saw the grain and the graceful curve, we knew that we were going to make a “woody.”
After we spent a significant amount of time admiring her, we thought we might want to see what she looked like in the sunshine. The moment of truth had arrived. Would our little trailer fit through the garage door? Of course we had measured, but sometimes things go awry.
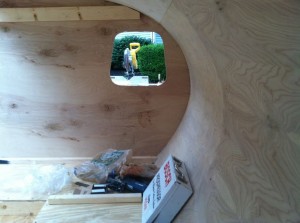
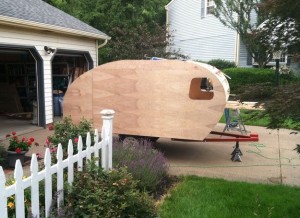
We figured we’d better check it out before we went any further. She fit fine, but we were a bit worried. When we were at Sands RV, we looked at a ceiling vent and fan combination that would sit on top of the camper and increase the height considerably. My husband and I looked at each other and shrugged. We would cross that bridge when we came to it. That is how we roll!
